The Peloton Portal includes the ability to schedule Funds Transfers (EFTs) and credit card payments in advance. These may be one-time payments or recurring payments.
Click the “Schedules” icon in the Manage menu to begin.
One-Time Credit Card Payments#
To Schedule a one-time credit card payment:

- Click “Add” in the Schedules sub-menu
- Select the account that will process the transaction
- Select “Card Transfer” as the payment method
- Select the card
- Add the amount of the card transaction
If no card is displayed or you cannot find the credit card in the list, the card needs to be added to the system (see “How to Add a Card” for more details)

- Select one-time charge and the date of the card transaction
- Add a customized friendly name
- Add a customized Order Number
- To add references, click on the References bar to expand the fields
- To view the schedule summary, click on the green button to load all the details
- Click on the “Add” button to save the schedule
Recurring Credit Card Payments#
To schedule a recurring credit card payment:
- Click “Add” in the Schedules sub-menu
- Select the account that will process the transaction
- Select “Card Transfer” as the Payment Method
- Select the card
If no card is displayed or you cannot find the credit card in the list, the card needs to be added to the system (see “How to Add a Card” for more details)
- Add the amount of the card transaction
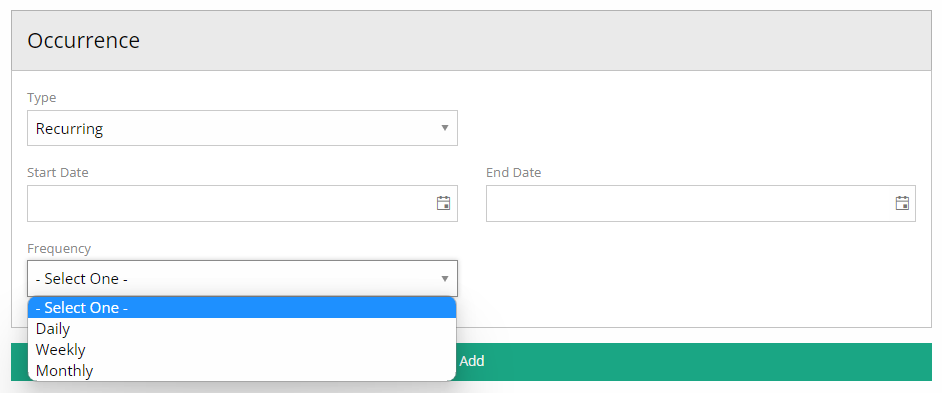
- Select “Recurring” and update the occurrence information such as start date, end date, frequency, day, etc.
- Add a customized friendly name
- Add a customized Order Number
- To add references, click on the “References” bar to expand the fields
- To view the Schedule Summary, click on the green button to load all the details
- Click on the “Add” button to save the schedule
One-time Funds Transfer#
To schedule a one-time funds transfer:
- Click “Add” in the Schedules sub-menu
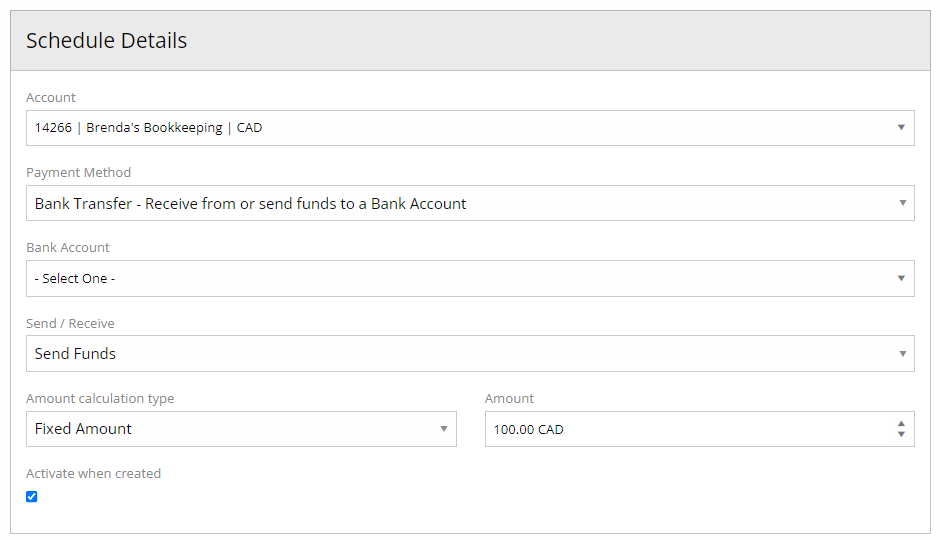
- Select the account that will process the transaction
- Select “Funds Transfer – Receive or send funds to a Bank Account” as the Payment Method
- Select the bank account
- Select “Send” or “Receive”
- If you are sending funds out of the Peloton account, you have the option to send all the available balance on the day of the transfer to the selected bank account. To do this, select “Available Balance” in Amount Calculation type, otherwise, select “Fixed Amount” and add an amount to the Amount field
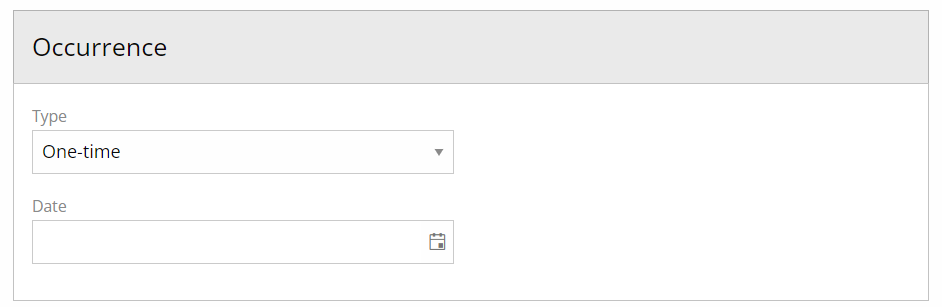
- In Occurrence, select “One-time” in Type and the date of the card transaction
- Add a customized friendly name
- Add a customized Order Number
- To add references, click on the “References” bar to expand the fields
- To view the Schedule Summary, click on the green button to load all the details
- Click on the “Add” button to save the schedule
Recurring Pre-Authorized Debits#
To schedule a recurring funds transfer:
- Click “Add” in the Schedules sub-menu
- Select the account that will process the transaction
- Select “Funds Transfer – Receive or send funds to a Bank Account” as the Payment Method
- Select the bank account
- Select “Send” or “Receive”
- If you are sending funds out of the Peloton account, you have the option to send all the available balance on the day of the transfer to the selected bank account. To do this, select “Available Balance” in Amount Calculation type, otherwise, select “Fixed Amount” and add an amount to the Amount field
- Select “Recurring” and update the Occurrence information such as start date, end date, frequency, day, etc.
- Add a customized friendly name
- Add a customized Order Number
- To add references, click on the “References” bar to expand the fields
- To view the Schedule Summary, click on the green button to load all the details
- Click on the “Add” button to save the schedule
Manage an Existing Payment Schedule#
If you want to deactivate or delete an existing schedule, you can do that from the Schedules Page.
Directly below the Schedules submenu bar, you will see a list of all active scheduled payments and key information for each payment.
1. Click on the Edit Icon for the payment you would like to change

2. In the Edit page, below the Schedule Details, change the State as required to Active, Inactive, Cancelled or Complete
Select “Inactive” if you want to stop the payments but want the option to reactivate them in the future
- Select “Complete” if you are certain you no longer require the future occurrences of the schedule
- Select “Cancelled” if you want to cancel the scheduled payment
- Select “Inactive” if you want to stop the payments but want the option to reactivate them in the future
Schedules cancelled or completed cannot be reactivated. A new schedule will need to be created. To view all schedules that were completed or cancelled, click on History in the Schedule sub-menu bar.